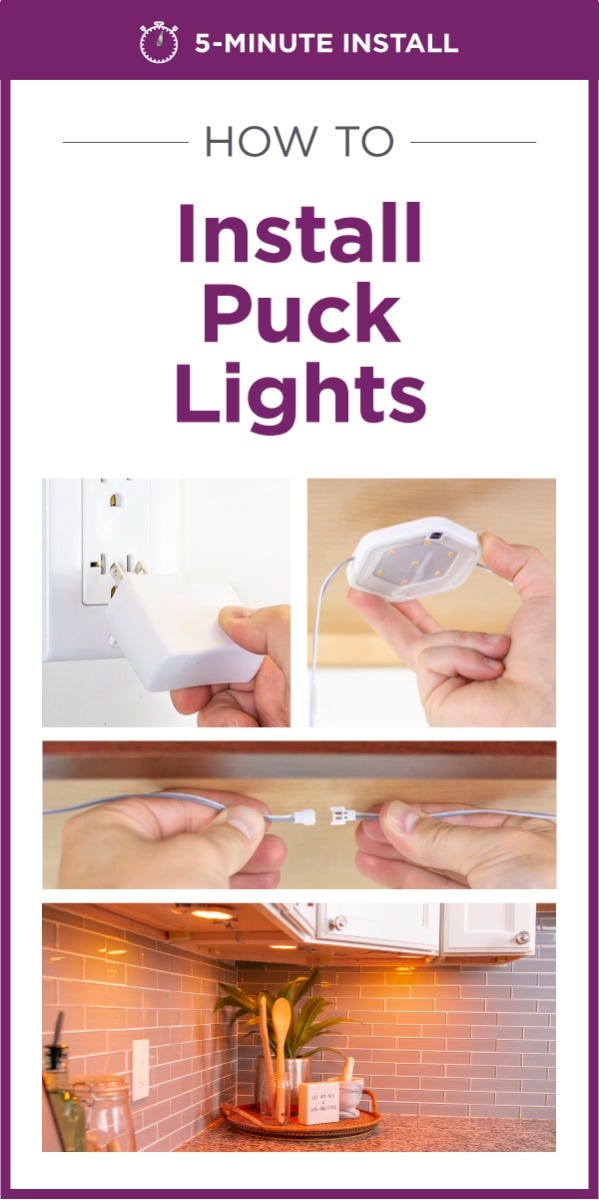
How to Install Puck Lights in Your Kitchen
- Jul 12, 2019

The demand for under cabinet lighting is at an all-time high and the BLACK+DECKER Under Cabinet Puck Lighting is here to help ease you in to this trend. No pro or tools needed – this under cabinet puck light kit is equipped with a five-minute install that’s perfect for any homeowner looking to easily upgrade their kitchen. With 10 brightness levels and different accent lighting, the warm white puck lights will be your go-to lighting for everything from cooking to cleaning to crafting and more! Want to add a pop of color to your kitchen? Our color changing puck lights have five lighting effects that can turn your every day kitchen into an impromptu party. Follow the guide below for a step-by-step break down on how to easily install these puck lights in your kitchen!
Step One: Clean the surface.
Choose the section of your cabinet for where you'll be installing the puck lights. Wipe down the mounting surface with a clean, lint-free cloth.
Step Two: 2. Select plug location.
Select the plug location that's nearest to your cabinet. Ensure that the 5' cord can reach the desired location of the control puck.

Step Three: 3. Lay out the puck lights.
Lay all of your lights out in their desired locations and ensure that each light is no more than 24" apart.
PRO TIP!: Before mounting the lights, ensure that each light is in the proper orientaton to connect the male connector of one light to the female connector of the other.

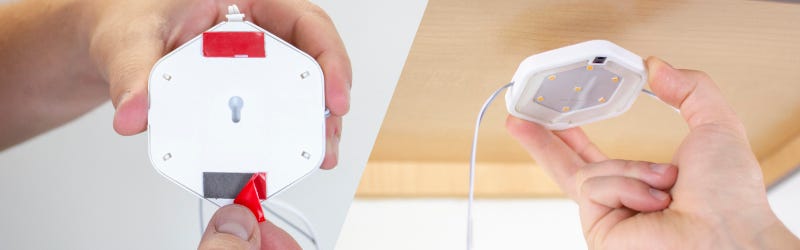
Step Four: Install your lights.
Starting with the control puck light, peel the red backing from the adhesive strip on the puck light and hold the light firmly on its desired location for five seconds. Repeat the installation process with the remaining puck lights.
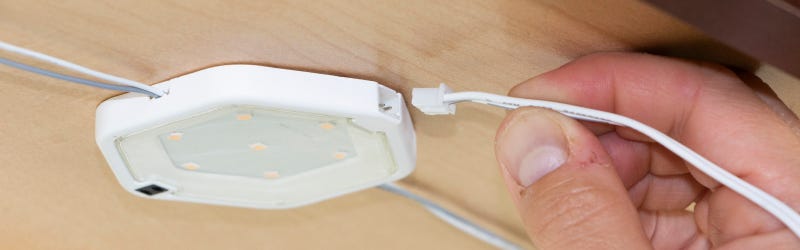
Step Six: Connect the AC adapter.
Connect the AC adapter output to the input on the control puck light.
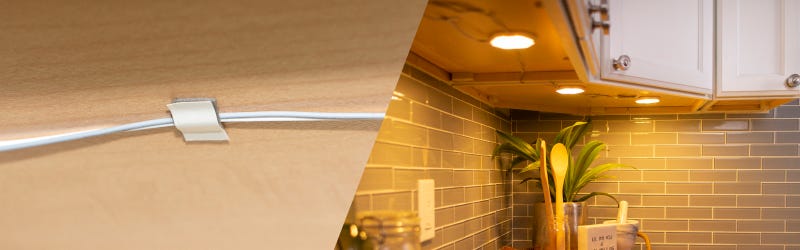
Step Seven: Hide excess jumper wires.
Hide excess jumper wires using the tape strip by cutting into 1" strips and applying where needed.
Pin it!